ADVANCED GROOMING TUTORIALS
The Continental Trim
with Allison Foley
Knowing your Dog’s anatomy
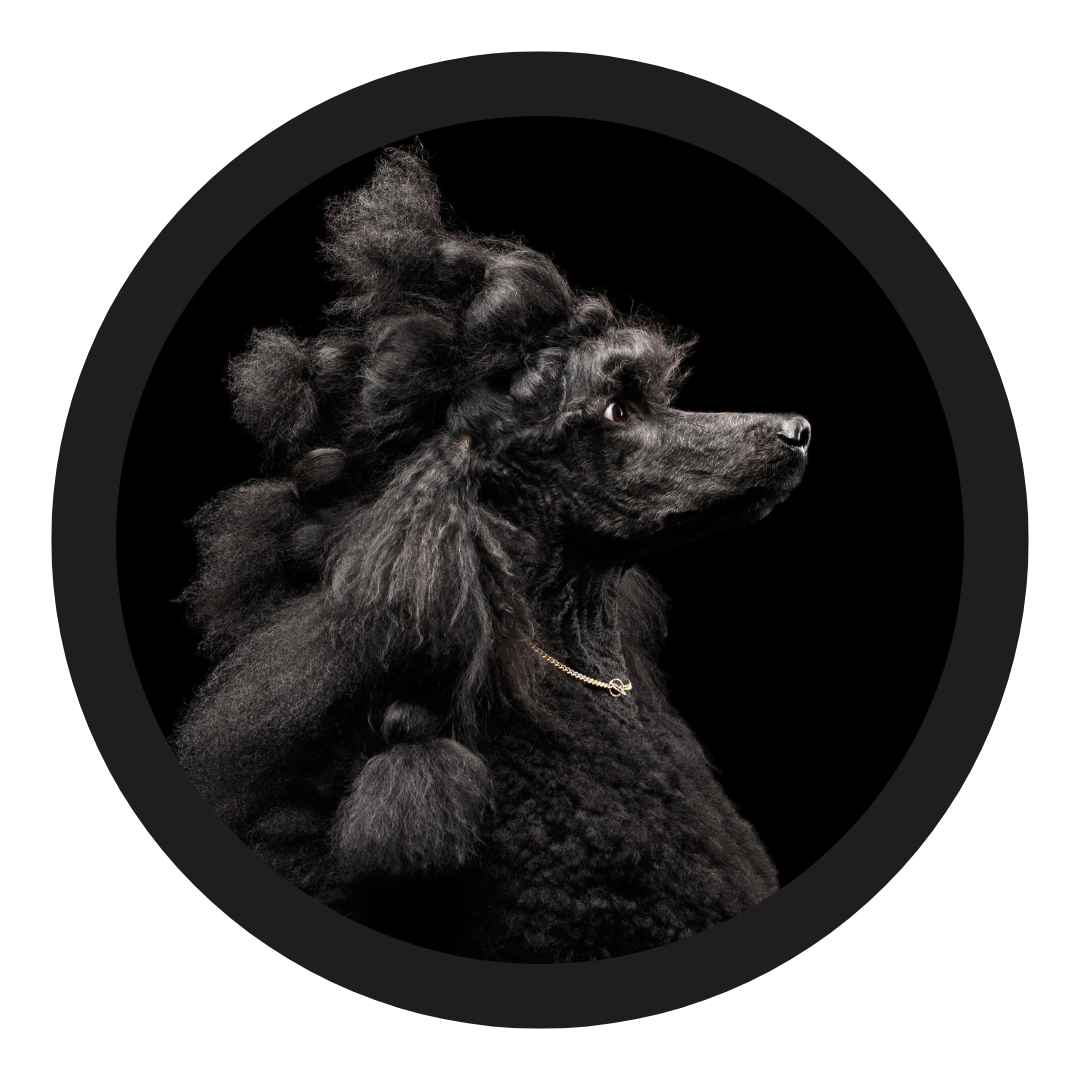
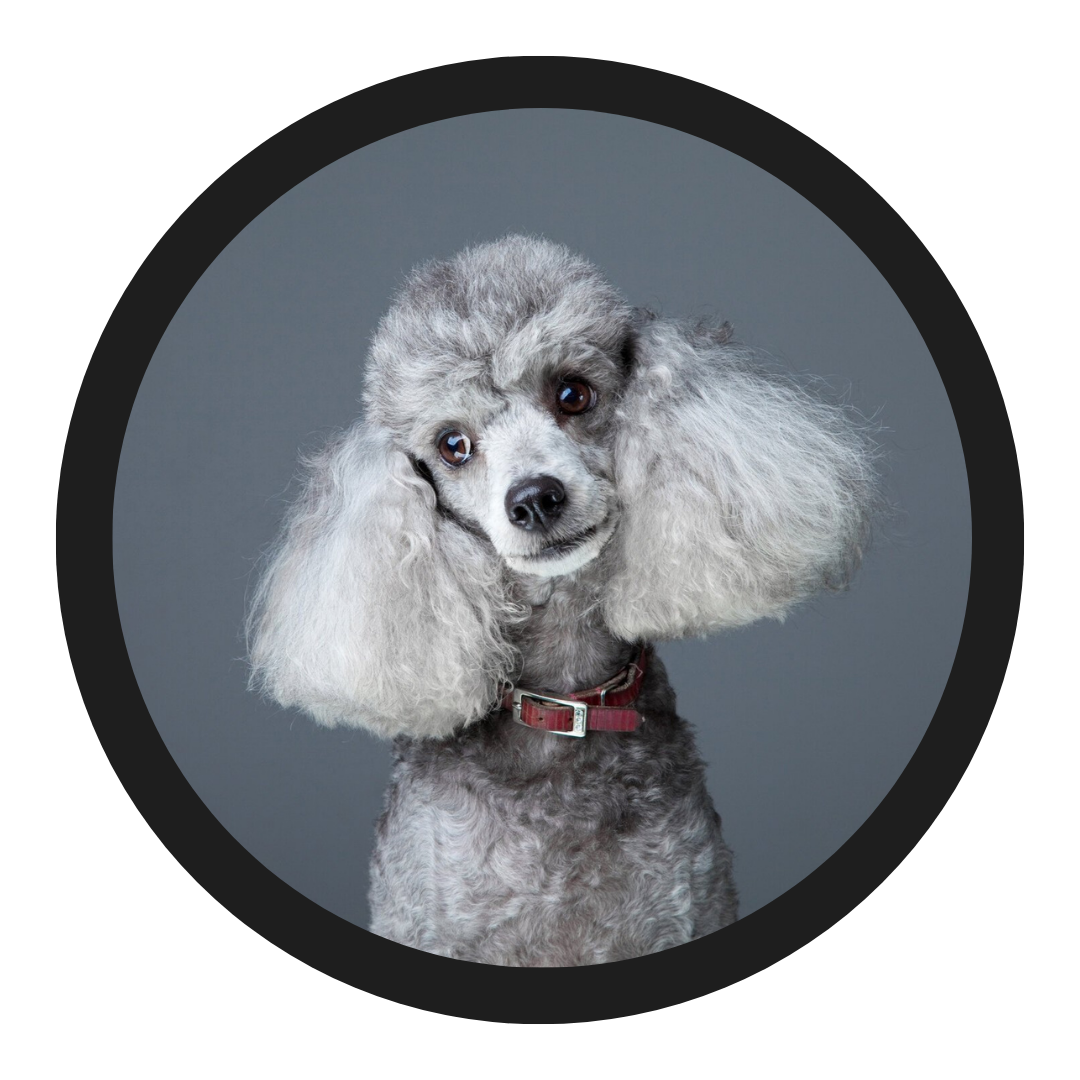
The most important thing when trimming your Poodle, is to know EXACTLY what you want it to look like. I am trying to help you eventually have “Brand”, so that all of your trims look the same. This shows the world exactly what you want your poodle to look like. I show some examples here. If you read your standard and have a clear vision in your head of what you want, your poodles’ silhouette to look like, you will have greater success. People often come to me and say that they can’t make their poodle look how they want. When I ask what they want it to look like, they don’t know. Know what you want your poodle to look like. Find photos of Poodles that represent this to you (hopefully from the same family) and put those up in your grooming space. Refer to them over and over. Take photos of your own poodle trim and “fix” it with a marker until it closely matches your ideal Poodles. This is one way to have something to aim for.
Once you have this picture in your mind, be very aware of where your dog strays from the ideal, and make up for this with your grooming talents.
Setting Up for Success: The Continental Trim
To start your puppy from puppy trim to continental trim, you want the puppy to be completely bathed and dried, following the steps outlined in “Poodle Prep”. Once your Poodle is completely prepared, I recommend that you have your Poodle with a simple topknot and not wrapped down the neck .That helps you to see how much hair your dog has when setting the Continental Trim.
Your dog must stand “square” at all times while being trimmed. If your dog is sitting and you think that’s okay because you’re just trimming the front, the result will be that your front trim will turn out wrong as it will be unbalanced. I also like to have my poodle standing with their tails up because it teaches them that their tail should be up when I’m working on them. It helps balance the outline in my eye, as I’m working on them. In the video shown here, the poodle is being held on a grooming arm and a noose. You will notice that the noose is not tight and the dog is not leaning into it in any way. It is simply there for safety reasons. I usually groom my poodles with no grooming arm and noose. I feel that if you teach your Poodle how to hold it’s shape on the table, your trim will turn out better AND when it comes time to show your Poodle, it is easier to transfer that shape onto the floor while showing them. This is how to get the best results.
Equipment Used in the Continental Trim
long and regular size Plush Puppy combs
Tybrushe "continuous spray" spray bottle
Plush Puppy OMG Spray (ready to use)
grooming table
Plush Puppy Regular Slicker Brush
Wahl Bravura Clippers with Blade on middle setting
Sedona (from Tybrushe pet Supplies) Straight and Curved shears
Terminology Used
I tried whenever possible to be clear. Usually I call all the pom-poms on the legs, body and tail, as a group of pom-poms. The leg poms are bracelets, the ones on the body are rosettes, and the tail pom, simply a pom. Sometimes I refer to one as the other. Sorry about that.
Using the Grooming Arm for safety only
When your Poodle is already in Continental - Tips
In this video we explain how to easily use this video series to improve upon the trim you have now.
Growing-in from a previous trim
I have demonstrated here how to take a puppy Poodle in puppy trim and “cut it out” into Continental trim. If your Poodle is already in Continental and you want to re-set the lines, just follow the same practices shown here. I have moved lines on trims that were trimmed the day before.
If you can let your Poodle’s hair grow out for 4-6 weeks before you re-set the lines, that would be ideal. You can then see where your new lines are a little easier.
No matter how long it has been since you last trimmed your poodle, you can start resetting the lines. Just pay careful attention each time you trim the Continental that the lines do not “migrate” too much, distorting the trim.
How to Begin the Continental
When Setting the Trim: Mind the “Gap”
One of the common errors I often see in the continental trim, is the space or gap between the back of the jacket and the front of the rosette. You do not want this space to be very wide at all. The wider the space, the longer backed your Poodle will look. In Standard poodles, often the back of the jacket and the rosette almost touch. Indeed, in my toy poodles trims, I don’t even really clip this line every week. I scissor the space in a very fine line in fear the line will “migrate” and get too wide. In Miniature poodles, I usually have this line as wide as half the width of your baby finger. I feel, that the closer the jacket is to the Rosette, the shorter backed your poodle will appear.
I believe one of the reasons that this space gets wide, is the common misconception that the poodle jacket stops at the last rib. In older literature (and I mean really old like the 1800s), a lot of the poodle drawings or indeed a lot of the written word about poodle trimming stated the Poodle’s “lion-type mane” or jacket hair, ended at the last rib. I think this was rather an easy way to describe what the poodle looked like rather than how a poodle should look in a modern day trim. If you have a Poodle in a perfectly good balanced trim, where the jacket ends at the last rib, this is more of a coincidence and not a guideline that you should use.
Another common misconception, is that the top of the back bracelet starts at the top of the hock joint. Again, this may have been correct in the 1800s but today we like the hair on the front bracelets, to be almost half the length of the front leg. Then we would draw an imaginary line from the top of the front bracelet, across to the back leg, making the top of the rear bracelet at the same height. Typically this has the back bracelet starting about 2 finger widths above the back hock joint.
The third common misconception is that if you make your poodle’s bracelets lower to the ground, so the top of the bracelet is further down the leg, that will make your poodle look longer legged. I disagree. I think that it draws your eye down and therefore makes your poodle look lower to the ground. I like to think of my eye as being drawn up by the shape of my trim. If we start the top of the front bracelet halfway up the leg, it draws your eye up and makes your poodle look more “up on leg”.
When you start trimming your dog in continental, the tops of the rosettes are going to look flat and slightly out of balance. This is simply a growing pain, of puppy trim to continental trim and not something that you can fix with trimming. Wait about 6 weeks and then your trim will look nicely balanced
The First Cut (it’s the Deepest)
The first time I put my poodle in continental trim, I started by setting the back line of the jacket first, with clippers. I realized as soon as I had clipped this line, the jacket needed to move back quite a bit. This was not an option as I had already clipped this hair away. As I made this big commitment with clippers, I was committed to where the back of the jacket was going to be.
In my opinion, the space between the rosette and the back of the jacket is very important, therefore I always start by trimming from in front of the tail to where I think the back of the rosette will land. Once I make the first cut, I look at it critically. I keep moving this line forward until I think my Poodle’s tail set looks nice, high-set and pretty. By starting in this manner, I haven’t committed to where the back of that jacket will be, until I am completely happy where the back (and therefore the front) of the rosette is. This makes the location of the back of the jacket, almost automatic.
I like to clipper out a puppy for the first time with a 10 or 15 blade, or my Wahl clipper on the middle setting so that they don’t sunburn. This is an actual concern. Taking skin that has never been exposed to the sun and shaving it down with a #40 blade or even the Wahl adjustable blade on the shortest setting, can cause your Poodle to sunburn. Using a blade on a longer setting allows the skin to adjust.
Start clipping from the front of the tail, take the hair off the back of the leg and the inside of the back leg. From the pin bone to the stifle, you can clip off the hair from there in a straight line, to approximately two fingers above the hock joint.
Once you have this hair clippered and then slickered out of your way, look at your dog from the side and start setting the back of the rosette. This is where the subjectiveness of your trimming comes into play. Look at your dog and begin to clipper in the back curve of the rosette. You are not worrying about the front of the rosette at this point, just the back curve. Make the back curve, step back and look at it. At this point, 99% of the time I need to move the rosette forward, but this is easy and does not affect the rest of the trim as I have not touched the hair on the front of the rosette or between the rosette and the jacket.
Hold the hair away from your clipper line. If it looks good, comb all the hair back towards the back of the dog and lie your scissors on the clipper line. Scissor off the hair that crosses that line.
Keep adjusting this BACK line only, until you are completely satisfied with how this looks. Once you are happy with the back curve of the rosette, take your curved scissors only and continue this line around, using your scissors to draw the complete circle of the rosette. By doing this, you leave yourself room for artistic interpretation. If you were to clipper at this point, you are then committed to it and I find this NEVER works for me.
Keep adjusting the scissored line. Make sure your dog is standing square at all times or your Poodle will not turn out square.
Clipper from the scissor line under the rosette and clipper off the rest of the leg hair. WARNING! Do not clipper between the rosette and the jacket, or between the rosettes at the top of the dog at this point . Just clipper from the bottom and back of the rosette and clear the hair away, so you can see what you have done and what needs to be done next.
Setting the Bottom line of the Rosette
As you come around to the bottom of the rosette, keep scissoring this with your curved scissors until you are happy with the nice “round” shape you have. Once the bottom of the rosette is scissored and looks balanced, simply take your clippers and put your clippers on this scissor line. Clipper the hair away revealing the bottom line of the rosette.
As we commit to the line at the back of the jacket, we continue to comb any hair over the front of the rosette and lie our shears on this line. Trim off any hair that can be combed over the line. At this point, the rosette should be about 80% completed.
Back of Jacket and Front of Rosette - Setting these lines
Now we are going to finish off the back of the jacket. This is obviously a very important line on your trim so as you can see, we have scissored the line and have not clippered it yet. You can clearly see from the line that you have scissored, that the jacket does not end at the last rib. It is a comb width away from the last rib. We have scissored this line, and because of this, we have a place to start from. Take the hair on the jacket and comb it back towards the tail. Lie your scissors on that scissor line at the back of the jacket and scissor off any hair that crosses over that line. Continue to scissor this line two or three times making sure you can clearly see the line you have made.
Often, people watch a poodle being scissored at a show and think you just scissor it once and you are done. This is not the case. Keep combing the hair and scissoring the lines you’ve made.
Once the scissor line is defined at the back of the jacket, you are going to take your clippers and clipper along this line. Make a very narrow clipper line about half the width of your baby finger. You are not going to clipper all the way to the rosette. You are merely marking the line with your clippers
The line for the back of the jacket is clearly defined. Look at the line that is scissored around the front side of the rosette. Follow your own line with the clippers and clip in the front of the rosette.
Comb the hair on the rosette towards each clippered line. ie your scissors on the line and scissor the offending hair off. Comb the hair forward towards the head over the clipper line, lie the scissors on the line and scissor. Comb down towards the ground and repeat. Repeat this process as you go all around the rosette.until the outside edges of the rosette are clean and round looking There will be pieces n the centre of the rosette that look long and out of place. We will address those as we finish the rosette
As you continue to comb hair to the clipper line around the rosette, lie your curved scissors on the clipper line and scissor around the rosette as you get to the top you will notice the top section does not have a clipper line. just use your artistry here and lightly scissor continuing your circle through the hair at the top don’t go all the way to the skin just kind of draw with the tip of your scissors the top of the rosette once you’re happy with the shape you can continue scissoring down closer and closer to the skin until you reach the skin and then you can begin to clipper
You can now take the clippers and clipper between your scissor lines, starting around Rosette, down to the loin, clipper off all that hair. Go back to your jacket, brush or comb the hair straight back again and continue to work on blending the hair from the clipper line into the jacket with your scissors. Remember to not dig your scissors into the jacket hair. You’re merely scissoring off the hair that you can comb over the clipper line at the back of the jacket.
Start to slightly taper the hair from the clipper line at the back of the jacket, into the jacket. Don’t go crazy. Lightly taper it in and if you’re unsure, leave this for now.
Setting the Back Bracelet or Pom-pom
When setting the clipper line for the top of the back bracelet, you want this line to be about the same height as the front bracelet making your trim in balance. If the front bracelet is slightly less than half way up the leg, continue this line to the back leg. This is where the top of the bracelet will start. This is usually about two finger widths above the back hock bone. The top of the bracelet is not clippered in a straight line but rather a line on an angle, helping to emphasize angulation. When viewed from the side, the bracelet is more oval than round in shape.
Comb the hair at the bottom of the bracelet down beyond the clipper line at the bottom. Scissor off the hairs that fall beyond this line, blending the line into the rest of the foot.
Moving to the Front
Ensure your poodle is standing square. Starting at the elbow, clipper from the elbow, clippering a straight line from the outside of the hair straight into the leg until you touch the elbow. Continue clipping this line all the way around.
From this line at the elbow, hold your finger slightly above the halfway point of the leg and clipper down to your finger. Clip all the way around the leg.
At this point, it looks like the bracelet is bigger than half the leg. It is better to error on this side than having the bracelet too low. It is easier to move it down than up and it also makes the bracelet looks fancier and brings your eye up.
Lay your straight scissors on the clipper line at the elbow and scissor the hair all the way around the elbow. Go back with the clippers and re-clip that line all the way around. Continue to clip, comb and scissor until you have the desired look. Make sure the bracelet is scissored around the bottom. Take your curved shears, using the tips, blend the top of the bracelet where the hair does not look oval shaped until it does look oval.
Trimming the Underline
Make sure the inside of both front legs are clipped straight at the elbow. Working from this inner elbow line, scissor straight across to the other inner elbow line. Pick up the front leg as if the poodle is trotting and trim the armpit hair. Imagine that the underline is continuing to the elbow and scissor off the “armpit” hair that sticks out. You want a nice clean line under that leg while the leg is in motion.
Trimming the Front
It is very important at all times to think of your dog’s natural anatomy when trimming. You want your trim to accentuate your dog’s qualities and definitely not detract from them. The front of the trim is set up to mimic the shoulder layback desired in a Poodle. If you feel for the withers and then the point of shoulder, the clipper line of the neck loosely represents this line in it’s angle. Lay your scissors on this line and scissor a straight line out from here.
The chest of your poodle is scissored in such a way that when stacked, the longest point (which is a curved point) would represent the point of shoulder. From this point you scissor in a curve, down to the front of the leg where you clippered a straight line from the elbow all the way around the leg. This represents the return of upper arm. From the front and sides, you scissor these lines to gently blend them into the jacket.
Back to the Rear
The Back Bracelets: The 1/3-2/3 Rule - As with any trim I do on a Poodle, I like 1/3 of the hair to be on the inside of the back leg and 2/3 on the outside of the back leg. This applies to bracelets.Bracelets are not half and half or a round ball. Bracelets are 1/3 on the inside and 2/3 of the hair on the outside. You want your dog to appear like they are moving properly when going away. If you leave too much hair on the inside, you will give your dog the optical illusion that it is moving too closely behind.
Continue to blend the hair from the top of the bracelet to the bottom of the foot, in an oval shape that helps represent your dog’s angulation when viewed from the side.
Trimming Between the Back Rosettes / Finishing between the Rosettes and Jacket
Once the two rosettes are completed and you are happy with them, take your curved scissors upside down and scissor a very thin line between the rosettes. Do not clipper this line until you are completely satisfied with your scissor line. If I am not showing for a while, I may at this point, only scissor this line especially if it is fresh out of “puppy trim” and the tops of the rosettes are flat.
Keeping this line between the two rosettes as narrow as possible helps to keep the rosettes looking balanced and not like one is “slipping” off the body. On Toys and miniatures this is a narrow pencil line. Go back and finish between the rosettes and the jacket.
How the Tail Balances the Trim
As we finish the trim, we do the tail. The bottom clippered line of the tail should be at the same height as where the top of the rosettes will be when they are grown in.
I say this because, often the dog in a new continental has flat tops to their rosettes if they were previously in puppy trim.
Conclusion
Often, the continental is a work in progress when we first “cut them out”. The puppy trim has left the underline shallow and the tops of the rosettes flat. Sometimes, there are other lines that have to be grown in or changed. Look at photos and remember what you are working on, as you continue on the journey of the Continental Trim.


