ADVANCED GROOMING TUTORIALS
The Modern Trim
Please note that the preparation work for these videos was done prior to filming. For more information on how to properly prepare your poodle for this style please refer to our course “Poodle Prep”.
Equipment used
Chris Christensen Butter Comb
Clippers with detachable #30 Blade
Set of Wahl Clipper Combs
Chris Christensen Thick n Thicker Spray
Chris Christensen Bottoms Up Spray
Chris Christensen Adalynn 8 inch Straight Shears
Chris Christensen Adalynn 8 inch Curved Shears
Introduction to the Modern Trim Poodle
Introduction
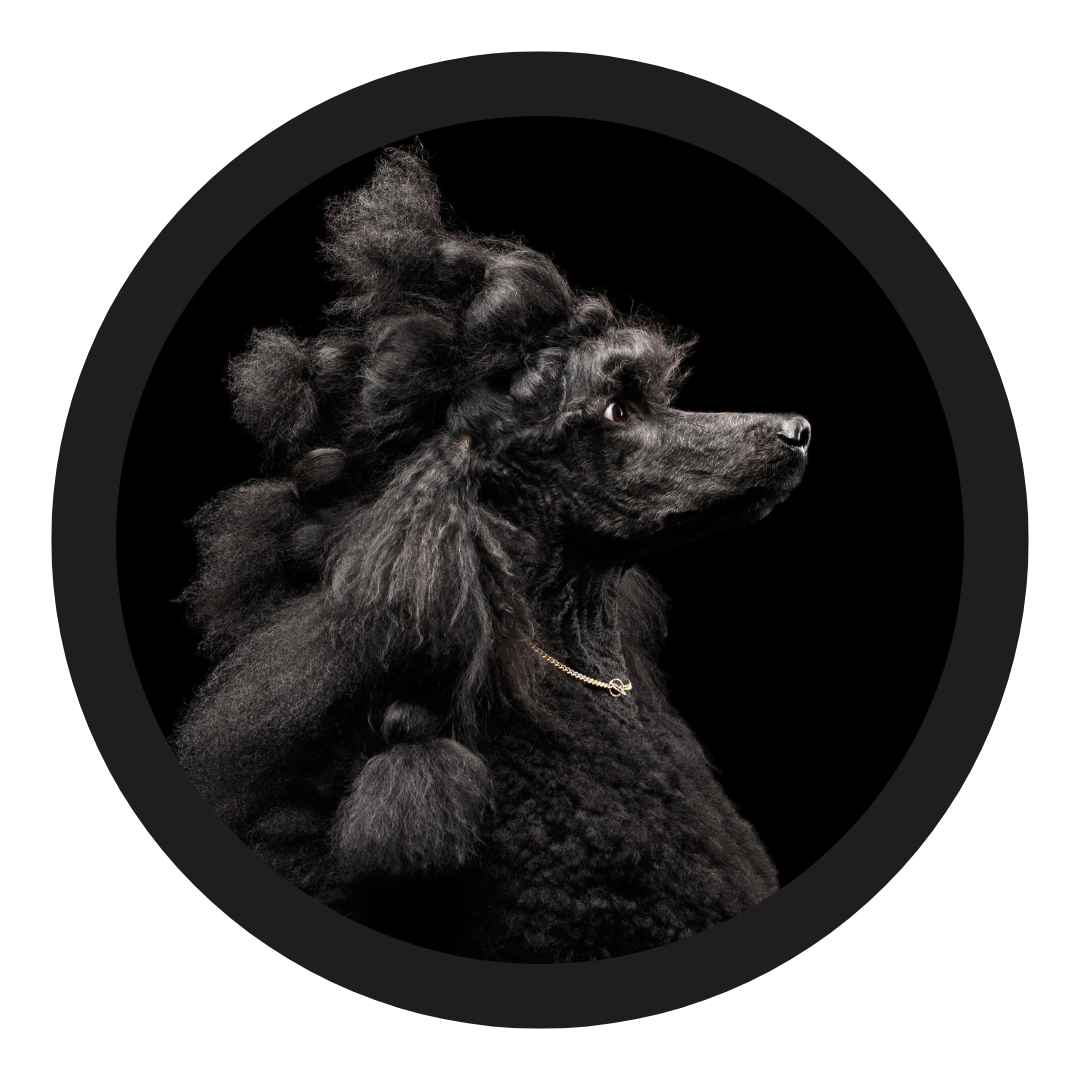
The Modern Trim is a fancier version of the Sporting Trim. It adds flair and an air of distinction to a Poodle.
This trim is very popular for grooming competitions.
Beginning and Topline Modern Trim Poodle
Beginning and Topline
You will begin by blocking in the body shape – once the body shape is worked in, it is easier to trim in the details (such as angulation and neck shape).
Beginning with a #1 Clipper comb, start clipping just past the shoulders towards the tail, clipping in the direction of the tail. Use even strokes and try to get the clipper as close to the body as possible. The closer to the body, the more neck you will be able to give your dog. Clipper the topline a few times to make the hair as smooth as possible.
Be aware of your dog’s shape and conformation as you are trimming. If your dog is sway backed or has a roach in its topline, then you are going to want to adjust how much hair you leave and how closely to the body you clipper.
Rear Leg
Starting at the pin bone (the bone that makes the back part of the shelf) (and still using the #1 clipper comb) you will place the clipper as close to the muscle at the back of the leg as possible. You will clipper closely down the back of the leg until you get to the bend in the back of the leg (which is basically opposite the stifle or knee joint). From this point, you will use a scooping action with the clippers to leave more hair from this point of the leg to the top of the hock and beyond. We like to leave more hair here as it gives the Modern Trim more flair and drama. This also accentuates the angulation of the dog.
Then lift up the opposite leg and use the clipper comb over the inner thigh muscle to get that part of the leg nice and tight.
Rear Leg Modern Trim Poodle
The Side of the Neck, Shoulder and Body
Switching to the #0 clipper comb, you are now ready to do the side of the neck the shoulder and the body.
**Pro-Tip** If your poodle is skinny, young, otherwise lacking in body, or you like more body on your poodle, then you could do this with an A comb to leave a little more hair. Conversely, if your Poodle is chubby, big bodied or you want the coat a little shorter then you could do this step with a #2 comb.
To start clipping the side of the neck, you will start under the ear on the side of the neck. Come down the side of the neck and the shoulder holding the clipper against the skin. However, as you reach the top of the leg, you should only be skimming the hair. By skimming the hair here, you are starting your leg line and helping it to blend nicely with the body. Do not keep the clipper close to the skin as you reach the top of the leg!
Do not clipper the chest hair, as you will be hand scissoring this later!
Be sure to not clipper any of the back of the neck hair – this will create the drama and flair at the back of the neck!
Continue clipping from the side of the neck down to the bottom of the chest where your underline will be. Clipper at an angle with the grain of the hair – not straight up and down and not straight across, as you are more likely to end up with clipper lines this way. As you work down to the back of the body, you are going to use a scooping motion with the clippers before you get to the hip. This will allow you to create a waistline.
You will go over the body several times to make it as smooth as possible and leave yourself less scissoring to do later.
If you take the time to mist the area you are clipping with Chris Christensen Bottoms Up spray, and comb between clipping you will get a finer finish. This is a must for competition groomers!
After the trim is blocked in, lift the front leg and clipper out the armpit to stop matting from happening in that area.
Modern Trim Poodle Body
Modern Trim Poodle Tuck-up to Elbow
Tuck Up to Elbow
Switching to the #2 comb, you are going to clipper the underline from the tuck up area to the elbow. Be careful as you start at the tuck up area, as some Poodles have ‘fender skirts’ (loose flaps of skin at their tuck up). This flap of skin can get easily stuck between the tines of the clipper comb and cut your Poodle. This is another reason why it is important to know your Poodle’s body.
**Pro Tip** I like to actually hold the fender skirt in my fingers (no matter how big or small) so that I am always aware of where it is.
Start clipping by scooping the hair out under the tuck up and continue clipping all the way to the elbow. The idea is that the underline meets the elbow – once the chest is scissored in, there will be a continuous line from the front of the chest, under the body, coming out at the elbow and continuing up to the tuck up.
By having the underline end at the elbow and not below, you ensure that you are giving your Poodle the correct amount of leg when viewed from the side.
Modern Trim Poodle, blending the Topline, Body and Tuck Up Together
Blending the Topline, Body and Tuck Up Together
First, comb the hair on the topline towards the “V” shaved into the base of the tail. Using your scissors, you are going to bevel the hair out from here evenly into the topline.
Next, comb up the hair on the back of the back leg. Use your curved shears in reverse to trim around the back of the leg. Roll the scissors around the sides of the leg, remembering that the leg should always look three dimensional and even from all angles. You’ll also want to trim the hair on either side of the vulva very tight as to keep this area sanitary.
Coming over the top of the shelf area, make sure you transition this area into the side of the leg. Scissor in the top of the hip in a straight line so that when you are scissoring the side of the leg later on, you will have an end point to reference.
Move onto the underline, now. Tighten the tuck up into the hip using your curved scissors in reverse. You want to create a nice waistline for your Poodle, which will give this trim its sporty look.
Lift up the front leg and to scissor the underline straight under the leg until it meets the chest hair at the front.
The Front
Modern Trim Poodle, Blending the Sides of the Neck
Blending the Sides of the Neck
To get ready to trim the neck, remove the grooming loop and pull up the ears. Be sure your Poodle is standing with their front legs under them properly while you are trimming.
Comb up all the hair in the front of the neck. Using the curved shears in reverse, clean up the neck area and remove all the bulk hair.
Now, still using the curved shears in reverse, start blending the hair from the sides of the neck (where it was clipper combed) into the mane at the back of the neck.
You will use the curved shears both forwards and backwards at this point.
You will bevel up and over the ear from the side of the neck.
Modern Trim Poodle, The Chest and the front of the Front Leg
The Chest and Front of The Front Leg
Coming down from the shoulder layback, once you have scissored in the front of the neck you can use your curved shears to scissor the chest.
Scissor the chest right down to the top of the front leg. It is very important that it is a continuous line from the chest to the top of the front leg, and that the line at the top of the front leg continues behind the front leg and meets the underline at the elbow. While scissoring this area, it is important that you check where you are putting your lines by moving from the side to the front of your Poodle and back again, to properly visualize the lines you are making.
Keep blending the chest and neck together until you get the desired look.
Modern Trim Poodle Foot Bevels
Foot Bevels
Using a small pair of straight or curved shears, comb all the hair down and around the foot. The bevel will begin where the clipper line ends at the top of the foot. Always do the back of each foot from the back or underneath the dog so that you can clearly see what you are scissoring. This includes the back of the front legs – it is very important to not leave to much hair here, or your Poodle will look like it is down on its pasterns.
From the front, comb all the hair forward and down and around the foot. Scissor the bevel up and over the foot.
For the back feet, again comb all the hair down and around the foot and follow the clipper line with your shears to make the bevel.
**Pro Tip** Especially in competition, you will want to comb and re-scissor the foot bevel areas several times. This is a typical go-to place for judges to look for those stray hairs to pop out.
Modern Trim Poodle The Front Legs
The Front Legs
Start by combing all the hair up and out. Then, give the leg a shake to mimic movement and let the hair fall naturally. You will have greater success if you use a longer pair of shears for the legs, especially on a Standard Poodle. Hold the leg up and out and be sure to work all around the leg – including the inside of the leg.
Remember that the leg should look good from every angle and be even when viewed from every side. Be sure to scissor all the way and into the armpit area. Be sure that the sides of the front legs come straight down from the shoulder. There should be no noticeable transition from the side of the body to the top of the leg, it should be blended as if it is one straight line. Think of the legs looking like cylinders or stove pipes. You do not want to whittle the bottoms of the legs down like table legs.
The Back
Modern Trim Poodle, The Back Legs
The Back Legs
The back legs are more intricate than the front legs. This is also an area where your artistic interpretation is required. You can add as much drama and flair as you see fit here. By adjusting the amount of hair left on the stifle and the back of the hock, you can change the perception of how much angulation your dog has.
Start by combing all the hair up and out. Scissor the hock angle first. Lifting the foot up, work the bevel into the hock hair until it is well blended. Then with the straight shears, come up the side of the leg to the hip line that was scissored in earlier. Tighten up the leg hair to look clean and balanced. You want the front of the back leg to make the angulation on your dog. Scissor down the front of the back leg, leaving more hair on the front of the stifle or knee. Then, blend the leg down into the hock area.
Re-comb the entire leg and into the waist area. Go over this area a few times with your shears, blending the side of the leg into the hip and waist. Moving to the front of the back leg, but looking back at the inside of the leg, use your curved shears to trim the inside of the back leg from the top all the way down to the foot. It is very important that the leg is trimmed in 3-D and looks even and balanced from all angles. You want the inside of the back legs to be very tight and clean looking.
Move to the off side of the leg you are trimming and again clean up the inside of the back leg from the top all the way down to the bottom of the bevels.
**Pro Tip** Use Chris Christensen Thick-n-Thicker aerosol spray to help hold the hock hair in place. This spray works great, as it provides hold on the areas where there is more hair and you are creating more drama, yet it is easily combed through and does not interfere with your scissor work.
If you are using Thick-n-Thicker, it will keep the hair stay in place while you are scissoring. Remember to also give the leg a little shake once in a while to mimic movement so that the hair falls naturally. You want to make sure the leg is nicely rounded when the dog stops naturally on the ground.
To get this very important line from pin bone to just above the hock on the back of the back leg smooth and nicely angled, use your curved shears backwards for the best results.
Modern Trim Poodle, The Tail
The Tail
**Pro Tip** Using the Thick-n-Thicker spray is a great tool when trimming the tail.
Comb the tail out and try to hold it where the dog naturally carries it so that you can create the illusion of a perfect tail. You need to know where your dog carries the tail and trim it from this position so that the tail you create will be held in place naturally.
Start by trimming the tip of the tail so that it appears to be exactly where you want it. The majority of poodles will need the tip of their tails scissored very tight to the natural tip. This is where you must use your artistic interpretation of what you want the tail to look like.
Once the top of the tail is done, move to the bottom of the tail. Trim the bottom of the tail much like you trim the bevels on the bottoms of the feet. Start by combing all the hair down and around the clipper line. Then using a shorter pair of curved shears, start trimming the tail straight out from this clipper line, slightly rounding up as you do so.
Once you have scissored the tip and then scissored the base, you are ready to bring those two parts together. Bring the tail to the rear of the dog and let the hair fall down naturally. For thin haired or sparsely coated tails, remember that some Thick-n-Thicker at this point will help a lot. Scissor in a curving line from the tip of the tail to the bevel you have created at the base of the tail. Once you have the back of the tail scissored, hold the tail up into the natural position and continue scissoring the tail all the way around. Move around the tail, and add more spray as needed. Shake the tail gently once in a while to create that natural lay of the hair.
Always keep in mind how you want the tail to look when it is carried. The tail is one of the easiest places that you can create the look that you want but you must have that ideal in your head the entire time you are working on it.
The Neck and Head
Before you start, make sure that the ears are combed out and not interfering with the head hair.
You have already started the bevel up and over the ear when you were scissoring the sides of the neck. Comb all the hair forward towards the front of the face as you are now going to create a nice visor. This gives the Poodle that distinct expression. A lot of Poodles will have a softer topknot (a ‘flop knot’) – Thick-n-Thicker will help you get the desired effect. Take your curved shears and create a bevel over the eye. This is how you start to create the visor. Bring the shears down to right in front of the ear. Comb the hair from the front corner of the ear forward and scissor right to the clipper line. To get the desired effect, you will have to comb and re-scissor several times. Once you have a nice clean line here, take the curved shears in reverse and continue the bevel up and over the top of the ear.
To blend the neck, comb the topknot and neck hair up and out and go down the neck from the bevel to the topline with your curved shears in reverse.
Once both sides of the head are shaped and the neck is blended into the body, you are ready to start shaping the top of the head. You are simply rounding the head from one side/bevel to the other side. Keep recombing and making sure it looks round when viewed from the front of the head.
Now let the topknot shake out so the hairs fall naturally. Holding the head with the nose pointing slightly downwards (so that you can see down the neck), start shaping the topknot into the neck. You always want to leave as much hair at the top of the neck/back of the head so the dog looks as if it has as much neck as possible. You can really build the hair up at this point (especially if you are using the Poodle in a conformation or grooming competition. Again, using the Thick-n-Thicker spray will help you easily get the desired effect.
Go around to the back of the dog and look at the neck and topknot from an aerial type view. Moving the ears out of the way, make sure the neck is well blended into the body. Looking at the topknot and neck from the sides, make sure the entire neckline blends together and has the crested look that you desire. Make sure to check the shoulder area at this point to ensure there is a smooth transition from neck to topline.
Continue to re comb and ‘finish-scissor’ this area until all stray hairs fall naturally within the shape you desire. Check from all sides and angles!
Modern Trim Poodle, Neck and Head
Modern Trim Poodle, Ears
The Ears
Make sure the ears are completely and properly combed out before you begin to trim them. Comb the ear hair down and bevel them with curved shears. You will need to comb several times between passes of the scissor to get any and all stray hairs. Round the ear up gently towards the face. Remember to check from all angles and make sure the two ears are the same length when viewed from the front.
Modern Trim Poodle - Finishing Touches
Finishing Touches and Conclusion
The finished Modern Trim will have the back of the neck line (where it meets the topline) continue to be a straight line down the back of the front leg. When viewed from the front, the sides of the shoulder continue in a straight line down the sides of the front leg, with no noticeable transition at the top of the front leg.
When viewed from the rear, the rear legs form an “A” shape with the insides of the legs very tight and neat looking.
For a great finish, you can give a quick spray of Thick-n-Thicker to make the hair lay where you want it. Go over the trim several times to make your finish as perfect as you desire. If you want, you can re-comb with some conditioner and water spray and re-scissor the entire dog for a perfect finish.
This is a great, sporty trim that makes your poodle look stylish and brings about an air of distinction to this wonderful breed!


